

A Wacom tablet is one of the most reliable creative tablets for professional use. For more than 40 years, the tablet has been known to be useful for photographers and graphic designers. The Wacom Company was founded in Japan and was the first to create the first digital pen tablet globally.
Our Overall #1 Top Recommendation!

Affiliate links / Images from Amazon Product Advertising API

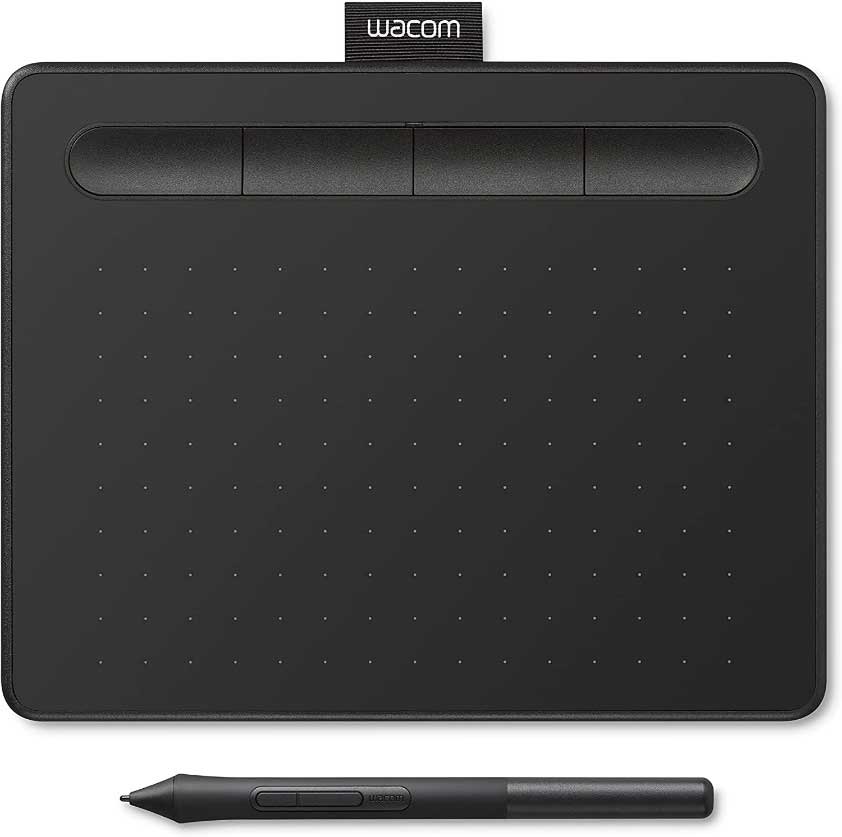
Since then, Wacom has created various models of creative devices—from smartphones, tablets, and other digital stationery; they have it all. Although it’s normal for me to use the usual keyboard and mouse interface, handheld devices are what people want nowadays. Their tablets also use cutting-edge technology on digital inks and color accuracy—which is a great advantage for designers and creative enthusiasts like me. Wacom’s latest model of tablets is the Intuos Pen, which is excellent for drawing, sketching, editing, and other image activities. It comes with its signature pen and is sold in different sizes.
I have owned a Wacom tablet for a while now. I’ve also connected it to my computer countless times for my activities as a creative enthusiast. I’ll share with you some tips on how to connect your Wacom tablet to Mac, as well as other tips on how I make the most out of my Wacom Intuos.
How to set up your Wacom tablet on Mac
Connecting a Wacom tablet to my Mac is different from any tablets or devices I have. However, it’s essential to know that your macOS must be compatible with the latest Wacom device available.
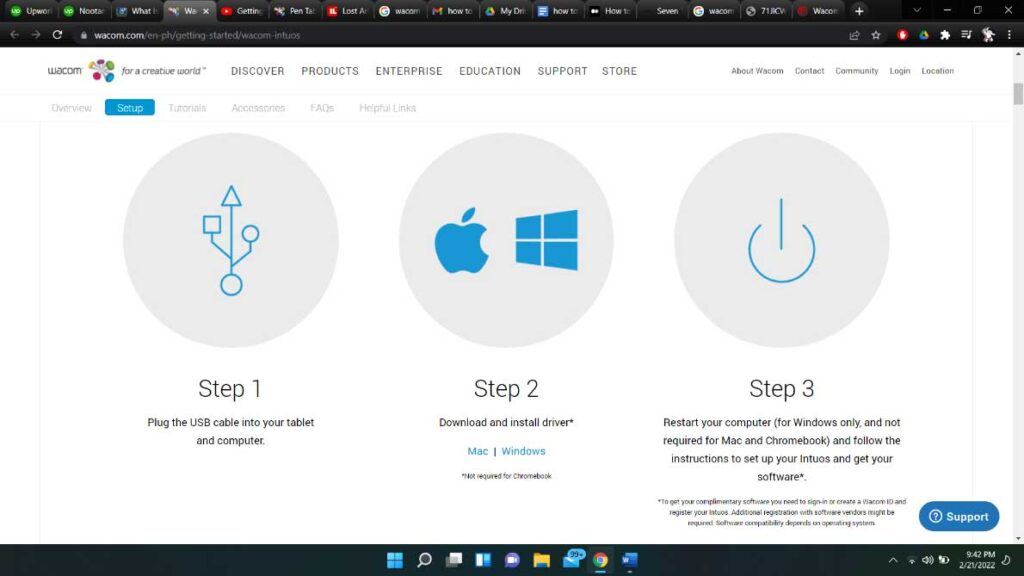
To set up your tablet, follow the steps below:
1. Plug the USB cable (Type C) into your Wacom tablet and connect it to your Mac.
2. Download and install the latest driver available for the Wacom tablet. The driver is available for both macOS and Windows OS. I downloaded my drivers at the official Wacom website.
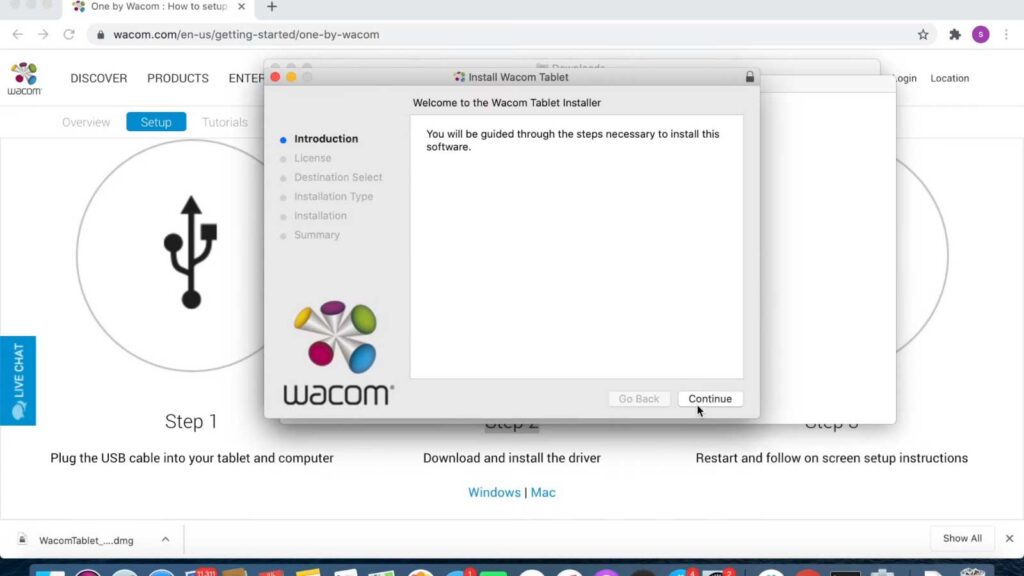
3. After downloading, the driver should be a .dmg file extension. Please open it and double-click the Wacom Icon to start installing. You’ll also be asked to enter your password in this step.
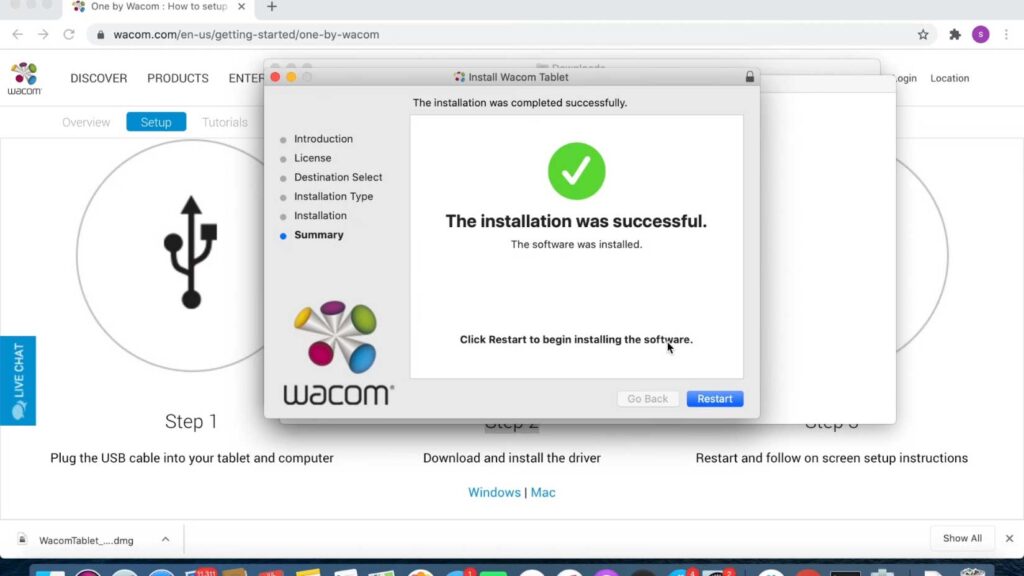
4. When it’s done, you will be asked to restart your Mac; click Restart to finish the installation process.
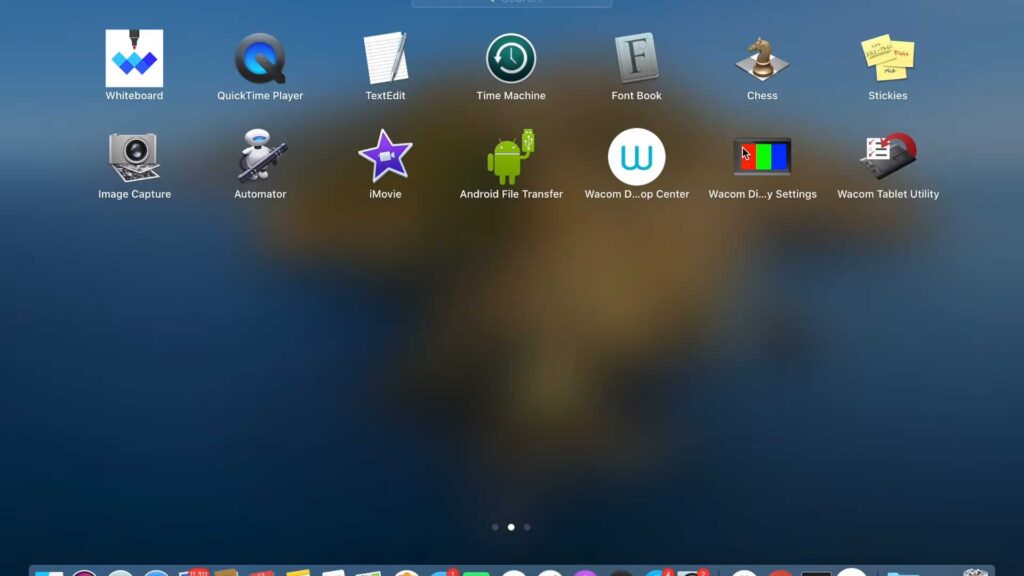
5. Next, you will find many newly installed applications for your Wacom tablet, such as Wacom Desktop Center, Wacom Display Settings, and Wacom Tablet Utility.
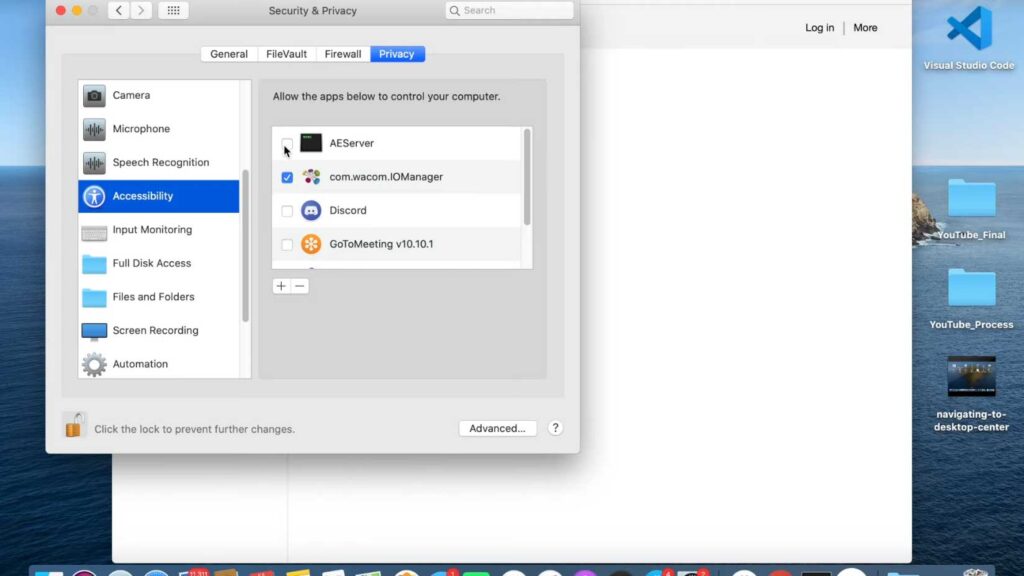
7. Remember to click the lock on the bottom left corner to make changes. You will be prompted to enter your password for this step. Next, click Unlock. Then, find the Wacom process (mine was named com.wacom.IOManager) and click the check box to give access.
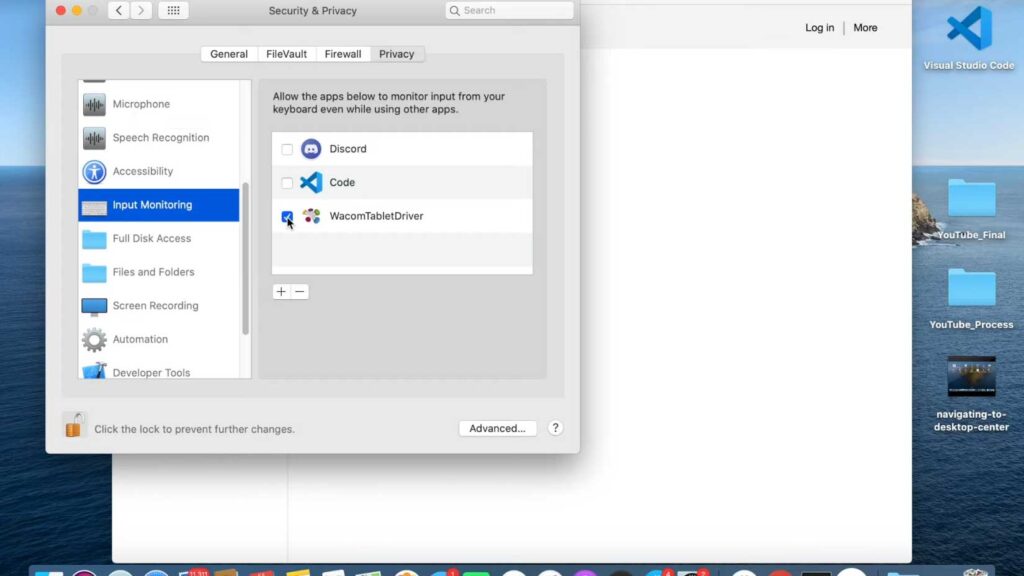
8. After that, go to Input Monitoring, and find the WalcomTabletDriver in the list of apps. Tick the checkbox to allow and recognize your Wacom device on your Mac
9. Click the lock icon once again to secure the changes.
By now, the Wacom tablet is connected to your Mac. Go to System Preferences and look for the connected devices— it’s in the last row. Once I clicked it, I saw the Pen and Mapping settings.
How to Set Up your Pen in your Wacom Tablet
Now that the tablet’s fully connected, the next thing I did was to set up the pen settings by using one of the installed applications, Wacom Desktop Center. Here’s how to do it:
- Open the Wacom Desktop Center. You can find it on your dock or dashboard.
- By now, you can see your connected Wacom devices on the screen.
- Select your device, and you will see a variety of settings. First, choose Pen Settings. A popup from the System Preferences will show up; select OK.
- Once you click it, you’ll see a diagram of how the pen works. First, set up the buttons on your pen. Change the bottom button from Scroll… to Middle click. The Middle click option is under the Clicks dropdown.
The bottom button (middle click) is helpful to me when I move my canvas around when I’m using Photoshop, for example. It can also be used to zoom in and out from your canvas. I’d use the top button (Right-click) to change the colors selected.
Final Thoughts
Overall, the Wacom Desktop Center is a great tool to customize, maximizing my Wacom Tablet experience. I’d recommend that you explore and learn the various settings like adjusting the active area of your tablet screen, tip feel, and tip sensitivity, among others.
The tablet itself is an excellent complement to other photo editing and creative applications due to its vast screen resolution. It also has express keys on its left portion for any shortcuts that you need—it could also easily replace your current mouse because of its underrated precision.
I’ll share some final tips that made me acclimated to my Wacom Pen Tablet:
- Be comfortable holding the pen. Wacom pens are hand-friendly, so find the perfect angle to hold your pen effectively.
- Keep the tablet software up to date. On the Wacom Desktop Center, you can download the latest updates to help you use your tablet with no problems.
- Align your tablet to your display. It gives you a sense of focus on the positioning of your pen. Also, remember that the corner indicators of your Wacom tablet indicate the display area of your monitor.
- Customize your tablet settings. There are various settings for both your pen and the tablet itself, as brought up earlier. So go around the settings and choose what’s best for you and your work. Take note that the tip of the pen is a click. So, when the end’s making contact with the tablet screen, it’s equivalent to a mouse click.
- New tools require practice. This tool is particularly one-of-its-kind, so there’s always room for mistakes. Holding the pen and holding your old mouse are different things. So, give it time to learn and practice other actions, remember using the pen’s buttons, and much more. Investing time to practice this technology would mean a lot more for you.
- Don’t be afraid of using the tablet. It may seem odd, but I’ve had instances of not using the tablet because it’s too complex. I’ve learned to use the tablet, like how I’d handle a regular pen and paper. It helps to be comfortable with the setup and treat it as a natural input device.
- Have fun with it! Be creative and show your skills on the tablet. Learning becomes easy when you’re enjoying what you do. Also, use it to navigate on your computer—open files, play games, and do other everyday things you’re used to doing with your mouse. It would help to practice the buttons and the different actions that your pen does. Take note that you wouldn’t want to learn this tool when you want to reach your work deadlines. Be acclimated to it, and soon enough, it will be a standard input device to you, not just a tool for your graphics work.
References:
- https://www.wacom.com/en-ph/getting-started/wacom-intuos
- https://community.wacom.com/us/seven-tips-for-getting-used-to-a-wacom-pen-tablet/
- https://www.steves-digicams.com/knowledge-center/how-tos/buying-selling/what-is-a-wacom-tablet.html
As an Amazon Associate I earn from qualifying purchases. Learn more.