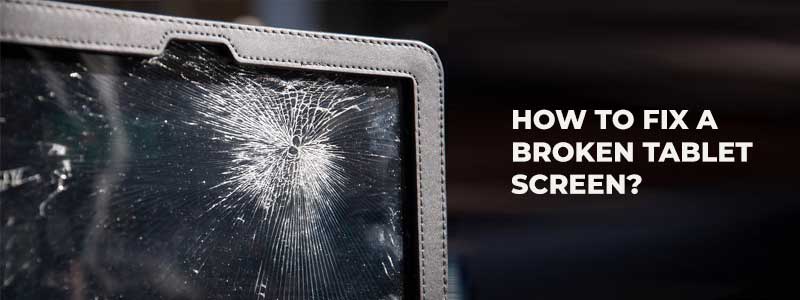
Whether due to accidents or the tablet’s age, broken tablet screens are one of the worst things that can happen to your device. Though you can let the tech professionals handle your problem, it can cost you a lot of money.
Our Overall #1 Top Recommendation!

Affiliate links / Images from Amazon Product Advertising API
With this in mind, you can try to do this on your own; not only is it inexpensive, but you can also apply this method to salvage other devices similar to a tablet. Repair shops usually charge up to $200, depending on the tablet’s model. Replacing the touchscreen interface can also add $50 to the current price.
In this guide, I’ll show you how to fix your tablet screen with simple tools that you can buy at hardware stores or online. This in-depth guide will also include all the steps that you need to know to make a broken screen work like it is brand new.
Assessing your Situation
The first thing to do is to assess the situation of your tablet screen; if it has a built-in screen protector, chances are the screen underneath it is unscathed. It means that only the upper portion of the tablet screen is damaged.
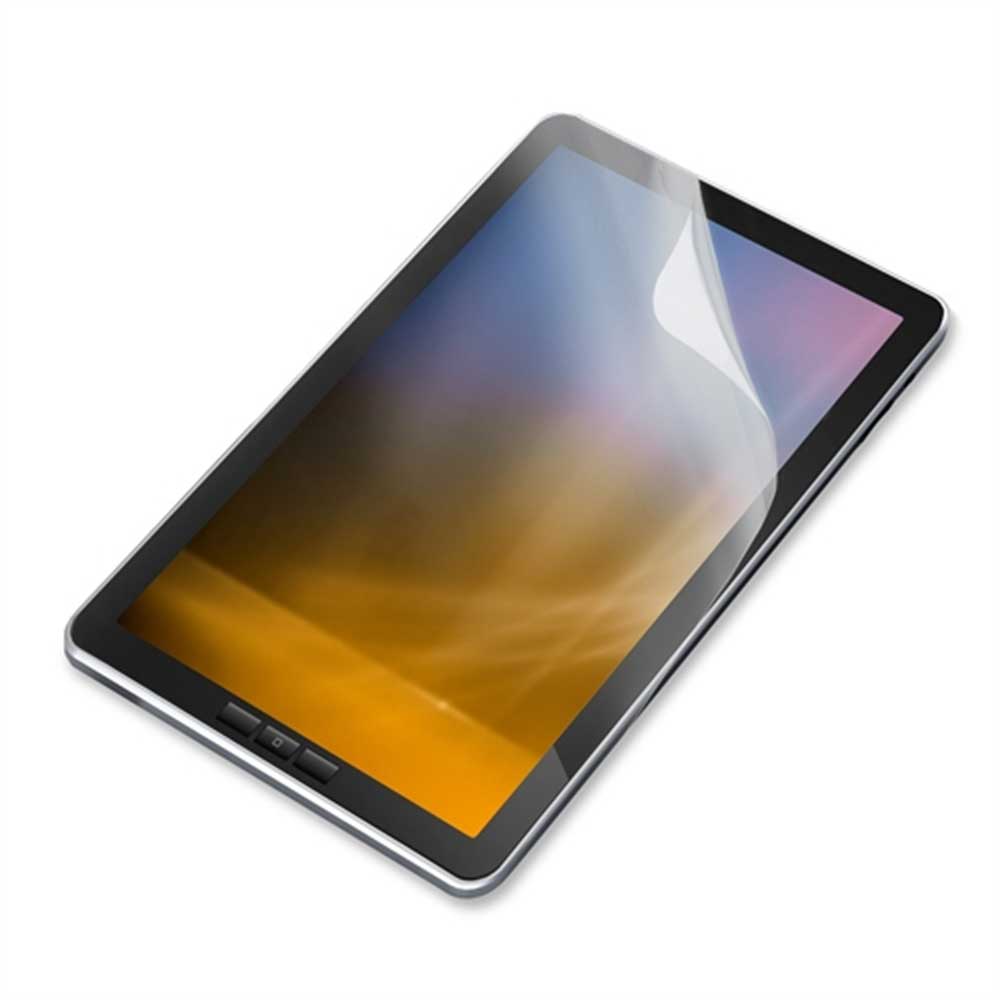
All you need to do is to carefully pry off the screen protector away from the tablet’s screen. If you do not have a built-in screen protector though, you might see a cloudy surface on the screen—it does this to prevent further damage to the touch screen glass underneath.
So, if you have a screen protector attached, congratulations! Your problem is now solved.
Repair or Replace
These two choices often revolve around people’s minds once they have damaged their devices—especially with cracked screens. In fixing your tablet screen, there are two options; either you repair the original screen or replace it with a brand new one.
If your tablet has a cloudy screen or was cracked due to improper use of cleaning material, you can fix it as is.
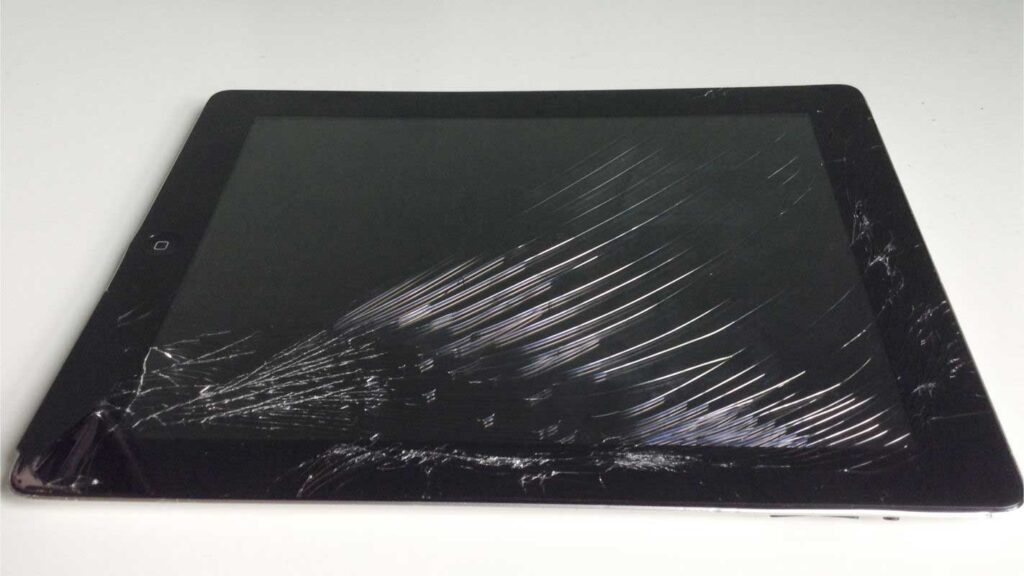
If you have large cracks, however—long cracks spanning all over your tablet due to falling accidents—you can now consider a screen replacement.
How to Fix a Cloudy Tablet Screen
A cloudy tablet screen is due to an aggressive cleaning habit or natural wear and tear. Fortunately, you can restore it using an oleophobic coating kit. It is an oil-repellent coating that prevents any fingerprint smudges and acts as a protective layer to your tablet screen.
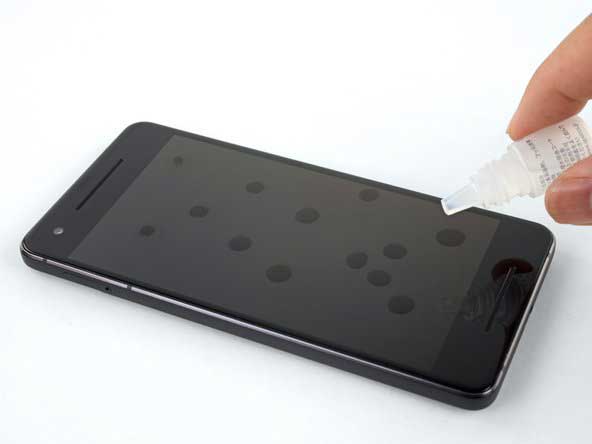
You can buy it in most electronic and hardware stores; you also will need a microfiber towel, ziplock bag, and isopropyl alcohol (70%). Here is how you can restore your cloudy tablet screen:
- Clean the tablet screen by pouring a decent amount of isopropyl alcohol on your microfiber towel and wiping the screen with gradual pressure.
- Wrap one of your fingers with a part of the ziplock bag—it will act as your wiping finger. Remember that once you apply the oleophobic coating, it will evaporate quickly—make sure to act fast.
- Apply 10-15 drops of the oleophobic coating to the screen surface. If your tablet has a wide area, work in separate portions of your tablet.
- Gently spread the coating on the damaged screen using your wiping finger until the liquid evaporates.
- Once done, wipe the screen dry using a microfiber towel and let the coating cure for 8 to 12 hours. Also, avoid touching the tablet screen during this step.
- Repeat these steps up to three times to ensure a clean finish on your revamped tablet screen.
For tiny cracks, you can use an eraser pad. Magic erasers can also work by moistening a corner of a cleaning pad and applying decent pressure on the cracked portion. Similarly, rub your pencil eraser on the area using an up and down motion and side to side for one minute each.
Remember that these final tips are only for quick fixes; therefore, they are temporary, and those small cracks can still reappear.
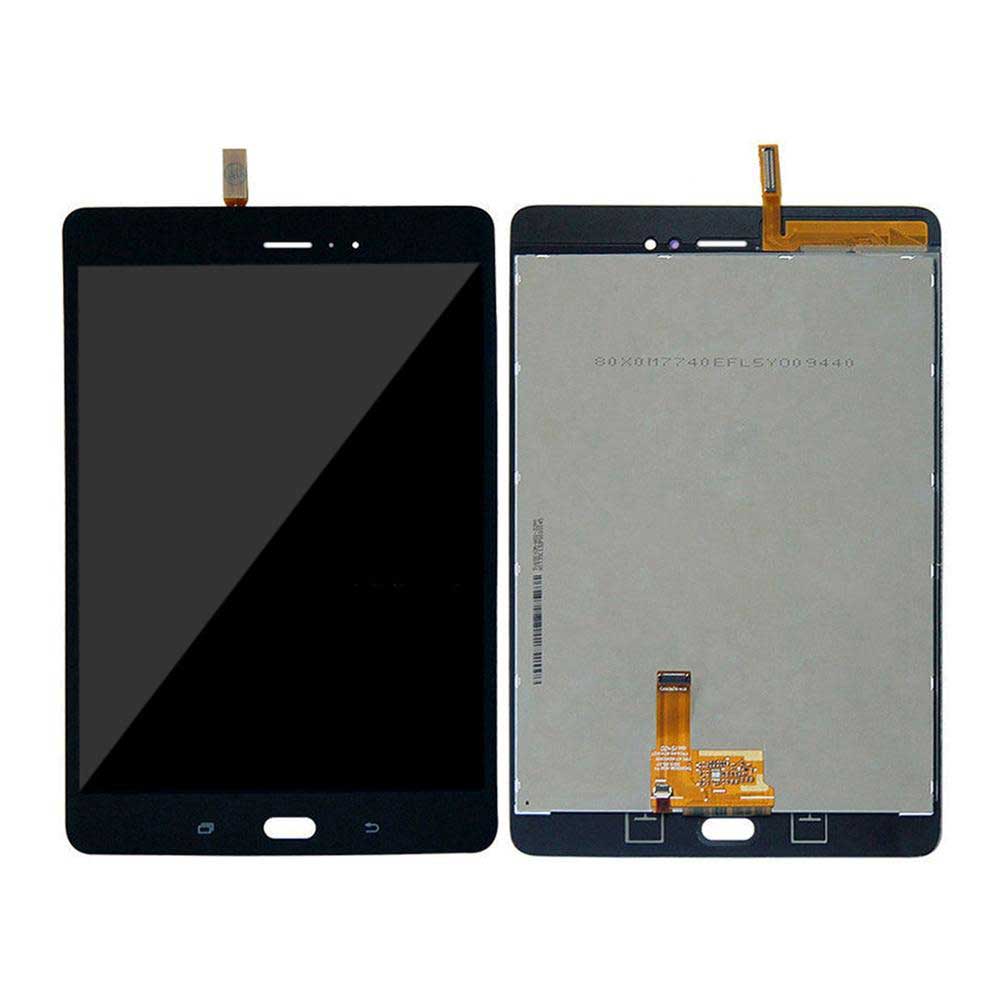
Replacing a Tablet Screen
If your tablet screen has suffered some deep cracks, a screen replacement is imminent, other than the option of buying a new tablet. Repairing your tablet LCD is a complicated procedure due to its internal design.
Additionally, secure that the screen is properly sealed to prevent outer debris from damaging its internal components. It also is critical for a structurally sound tablet.
Before you start, you will need to use a static guard mat for safety purposes to prevent electric shock. Disconnecting the battery is not a guarantee that the components will not contain remaining static electricity.
You must locate the model number of the LCD screen of your tablet; this will serve as your reference when you buy a new LCD online. It is usually written near the sensor cable that is attached to the tablet screen. You can access this part of the screen once you separate the screen from the rest of the tablet.
Follow these steps to remove your broken tablet screen:
- Remove the battery from the backside.
- Carefully remove any exposed cables and clasps from their main components. Also, pull any tape-style cable gently.
- Using your Phillips and Torx screwdrivers, remove screws that hold the LCD to the motherboard. Place these screws on a container so they will not get lost.
- Further, remove any cables that are holding the LCD to the tablet. Remember any patterns that you will need to follow once you reinstall the new LCD screen.
- Do not touch the broken LCD. And remember to use your heat-resistant gloves during this step. Separate the remaining sets of broken glass from the bezel using a heat gun. Apply heat gradually by moving on different sides of the screen and pull them apart once the adhesive begins to soften.
- Take note that you need the bezel intact, so be patient in removing the remaining parts of the glass.
After that is done, set aside the broken tablet screen and further follow these steps:
- Attach double-sided tape to parts of the bezel that completely lost their adhesive. Do not allow the tape to cover the visual part of the screen.
- Go over the tablet and see if there are any seals or foam paddings that you need to reattach. Take note to keep your hands outside of the glass since it is hard to remove them once you reintegrate the new LCD screen.
- Thread the digitizer cable and mount the new digitizer glass to the bezel by gradually pressing it into place. Then, dust off any particles and debris on the LCD glass using canned air.
- Reattach all parts such as the camera, cables from the tablet’s chassis, frame, and so on, in proper order.
Final Thoughts
Replacing a tablet screen is not easy work, but once you get the hang of it, you can apply the same method to similar devices. It will also save you from the costs imposed by repair shops. Remember to diligently follow all steps above to ensure a fix on your tablet screen—whether it was damaged heavily or has an unclear surface.
References:
https://www.technewsworld.com/story/how-to-fix-your-phone-or-tablets-broken-screen-86643.html
https://www.seniorcare2share.com/how-to-diy-fix-cracked-tablet-screen/
https://thefixsolutions.com/how-to-fix-a-cracked-tablet-screen-with-toothpaste/
https://fixmytouchkelowna.com/can-you-fix-a-broken-tablet-screen/
As an Amazon Associate I earn from qualifying purchases. Learn more.